August 11, 2025
How to Retrofit Vintage Typewriters with Backlit Keycap Systems
Introduction to Retrofit Vintage Typewriters with Backlit Keycap Systems
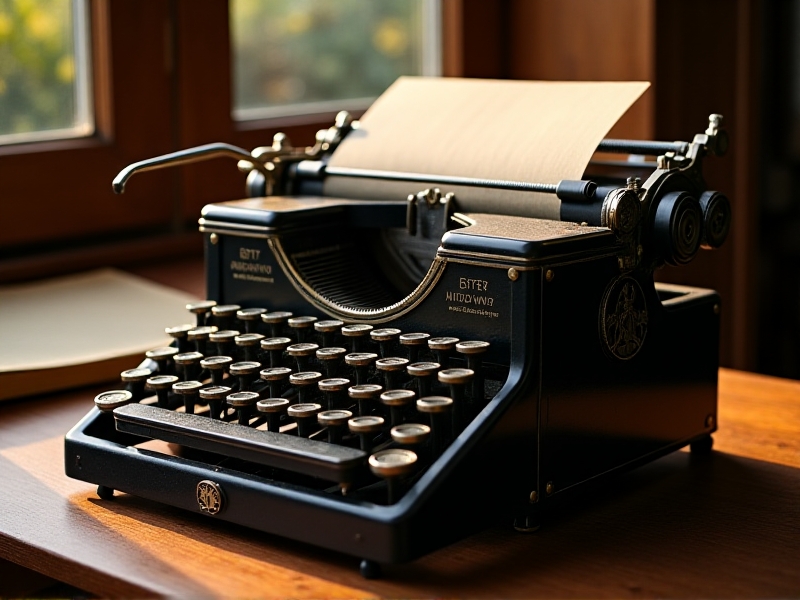
Vintage typewriters hold a special place in the hearts of collectors and enthusiasts. Their mechanical elegance and tactile feedback are unmatched by modern keyboards. However, one feature they lack is backlighting, which can be a significant drawback for those who enjoy typing in low-light environments. This article explores how to retrofit vintage typewriters with backlit keycap systems, blending the charm of the past with the functionality of the present.

Understanding the Mechanics of Vintage Typewriters
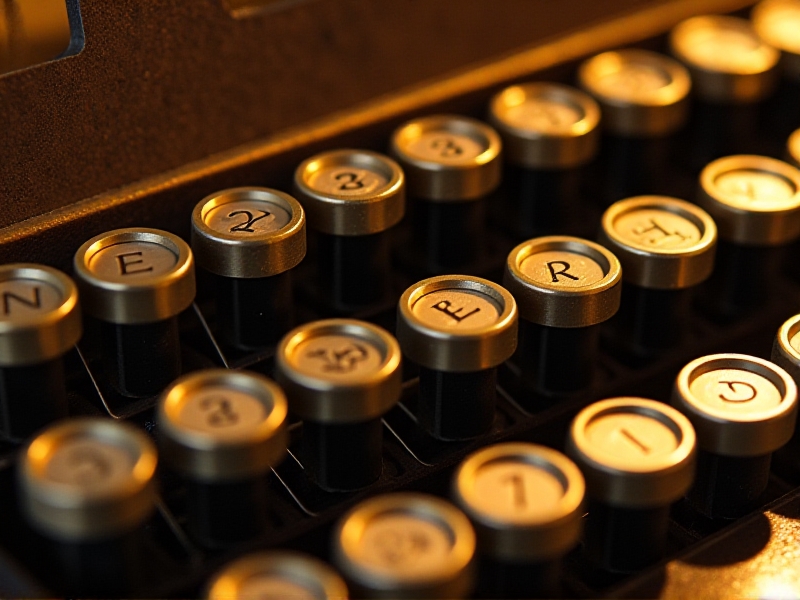
Before diving into the retrofit process, it's essential to understand the mechanics of vintage typewriters. These machines operate through a series of levers, springs, and typebars that strike the paper when a key is pressed. Unlike modern keyboards, typewriters don't have electronic components, which means adding backlighting requires a creative approach. This section will cover the basic components of a typewriter and how they function.
Choosing the Right Backlit Keycap System
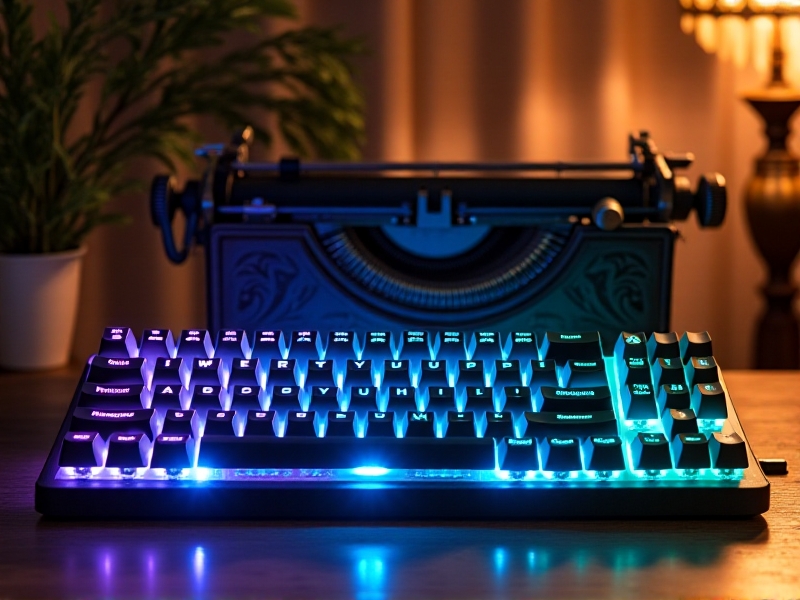
Selecting the appropriate backlit keycap system is crucial for a successful retrofit. There are various options available, including LED strips, individual LED lights, and pre-made keycap sets. Each option has its pros and cons, depending on the typewriter model and the desired aesthetic. This section will guide you through the selection process, helping you choose the best system for your project.
Tools and Materials Needed for the Retrofit
Retrofitting a vintage typewriter with backlit keycaps requires specific tools and materials. You'll need items such as a soldering iron, wire cutters, adhesive, and, of course, the backlighting components. This section will provide a comprehensive list of everything you need to get started, along with tips on where to source these materials.
Step-by-Step Guide to Installing Backlit Keycaps
Once you have all the necessary tools and materials, it's time to start the retrofit process. This section will walk you through each step, from disassembling the typewriter to installing the backlit keycaps. Detailed instructions and tips will ensure that even beginners can successfully complete the project.
Testing and Troubleshooting the Backlit System
After installing the backlit keycaps, it's important to test the system to ensure everything is working correctly. This section will cover how to test the backlighting, identify common issues, and troubleshoot any problems that arise. Tips on maintaining the system over time will also be provided.
Preserving the Vintage Aesthetic
One of the challenges of retrofitting a vintage typewriter is preserving its original aesthetic. This section will offer advice on how to integrate modern backlighting without compromising the typewriter's classic look. Techniques such as customizing the color and brightness of the backlighting will be discussed.
Creative Applications of Backlit Typewriters
Beyond the practical benefits, backlit typewriters can be used in creative ways. This section will explore ideas such as using the typewriter as a decorative piece, incorporating it into art installations, or even using it for live performances. The possibilities are endless when you combine vintage craftsmanship with modern lighting technology.
Conclusion: Blending the Old with the New
Retrofitting a vintage typewriter with backlit keycap systems is a rewarding project that allows you to enjoy the best of both worlds. By understanding the mechanics, choosing the right components, and following a careful installation process, you can enhance the functionality of your typewriter while preserving its timeless appeal. Whether you're a collector, a typist, or a creative enthusiast, this project offers a unique way to celebrate the enduring legacy of vintage typewriters.